Supplejack API
The Supplejack API is a Rails mountable engine that provides functionality to store, index and retrieve metadata via an API. It also includes an API dashboard for monitoring API key activity and setting query throttle rates.
This wiki provides a guide on how to create and configure your API as well as an introduction to the rest of the Supplejack project.
Getting started
Before starting you should check that you have all the dependencies installed.
Once that is complete we strongly recommend using the Supplejack template to create your app. This template will create a new app which includes the Supplejack API engine and then step through the configuration options.
For details about how to install Supplejack Template, see Install & Setup
Once the install is complete you should have a working API. The next step is to configure your schema so that you can configure the fields that are stored/returned by your API.
Log Record Metric Data
By default, Supplejack will log a history of Records that have been viewed in searches and individually, if you do not want this functionality simply set config.log_metrics = false in config/initializers/supplejack_api.rb
SupplejackApi.setup do |config|
  config.log_metrics = false
end
Make sure your model follow the same structure as the SupplejackApi::Record and SupplejackApi::PreviewRecord
By setting a custom class you will be able to do for example: YourCustomClass.custom_find(
Generate API User keys
From the Worker’s project root, Run the console.
rails c
Create a user.
 > SupplejackApi::User.create(email: 'your@email.com', name: 'Your Name', username: 'your_username')
=> #<SupplejackApi::User _id: 53d58681f694195642000002, created_at: 2014-07-27 23:08:49 UTC, updated_at: 2014-07-27 23:08:49 UTC, email: "your@email.com", encrypted_password: nil, name: "Your Name", username: "your_username", sign_in_count: nil, current_sign_in_at: nil, last_sign_in_at: nil, current_sign_in_ip: nil, last_sign_in_ip: nil, authentication_token: "WORKER_API_KEY", daily_requests: 0, monthly_requests: 0, max_requests: 10000, role: "developer", daily_activity: nil, daily_activity_stored: true>
 > SupplejackApi::User.last.authentication_token
=> "WORKER_API_KEY"
Cron Jobs
Supplejack has a few cronjobs that will help with indexing records. You can see examples of them in schedule.example.rb.
Supplejack Sidekiq
Supplejack has it’s own instance of Sidekiq that you will need to run for the Full and Flush harvest to work. Start Sidekiq from the api directory with bundle exec sidekiq. If you are running both Sidekiq instances on the same machine, you will need to point them at separate Redis databases otherwise you will end up in problems where the two Sidekiqs are trying to process each others jobs. This can be done by appending /<number> to the end of your Redis URL.
By default the Redis queues in Supplejack are numbered and differentiated between the worker and the api. However if you use Sidekiq to process other jobs on the same machine then you may want to change either the Redis numbered queue for those processes or for your worker and api to avoid any scenarios where two Sidekiqs may attempt to process each others jobs.
Indexing
To index your records in the background, run the rake task that is provided by the engine as a seperate process.
bundle exec rake index_processor:run[1000]
This will look in Mongo for batches of records of your provided size to pull out and index. It will also remove records that have been deleted. We like to run this as a seperate long running ruby process.
Sidekiq Dashboard
Supplejack ships with a background-job processing service called Sidekiq. The interactive Sidekiq dashboard is available by default on the Supplejack Worker and provides extra capabilities around viewing, monitoring, starting and stopping background jobs. For the Supplejack API, it is an optional extra.
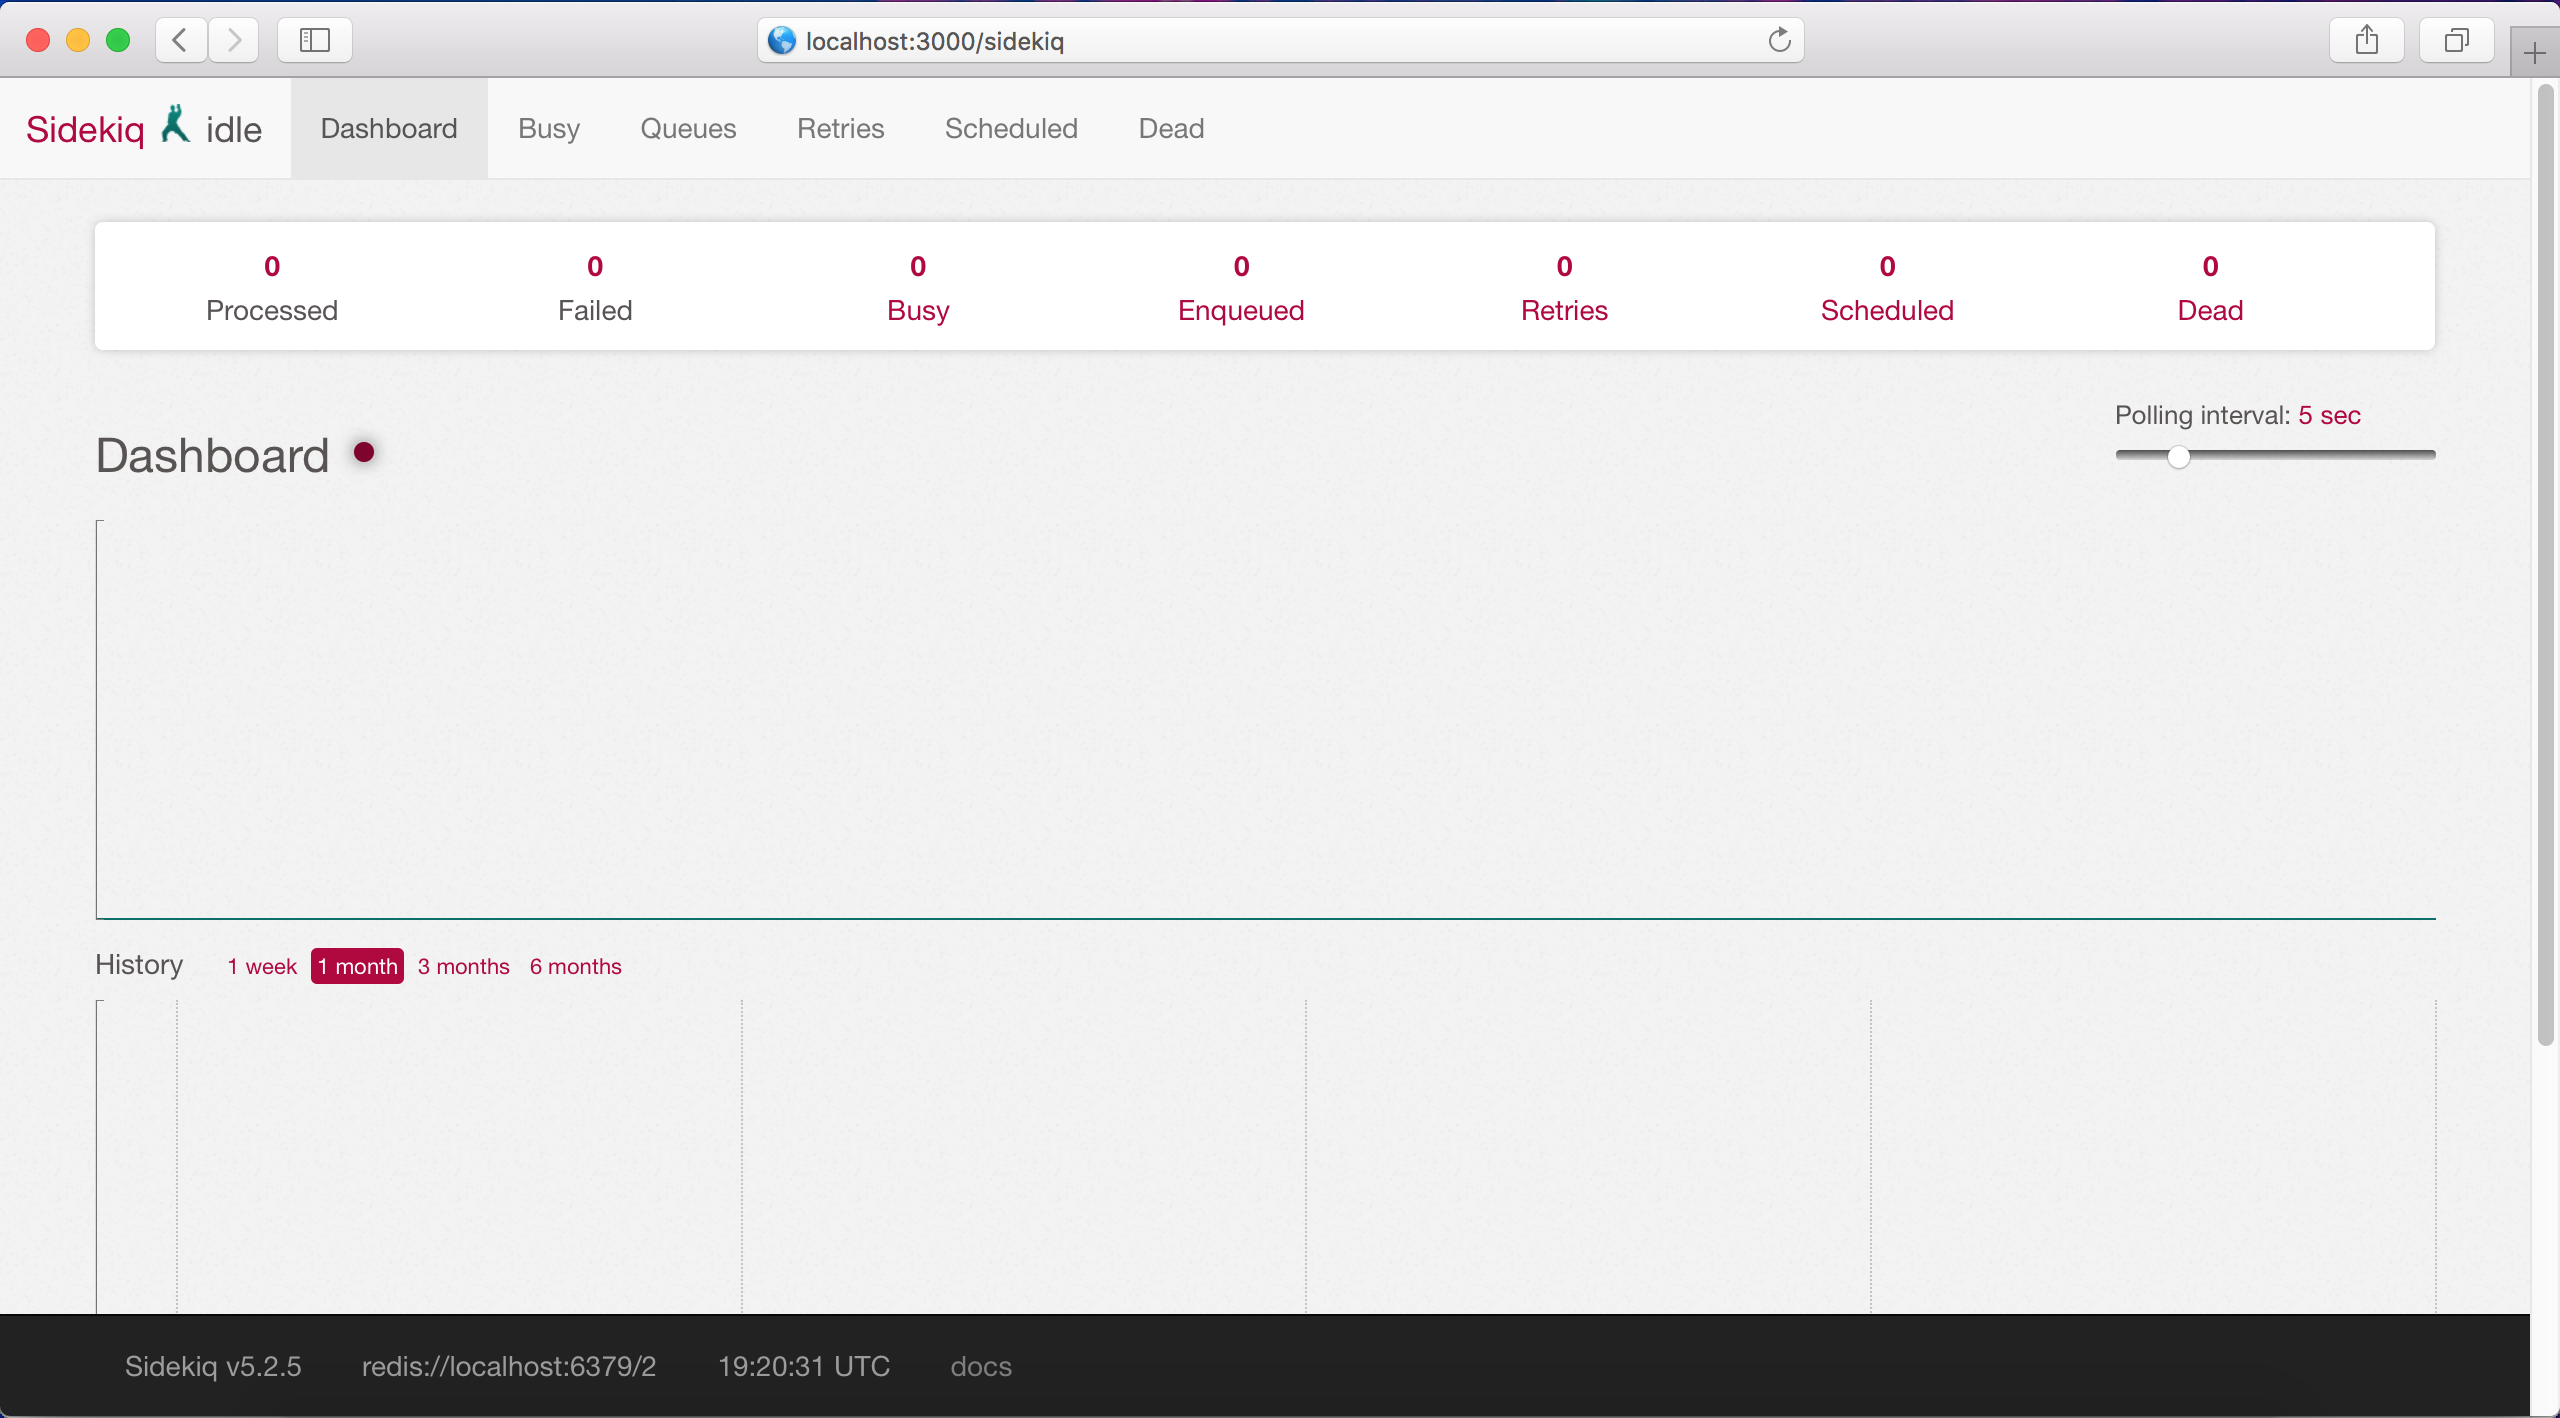
If you would like to view the Sidekiq dashboard belonging to the API, simply add mount Sidekiq::Web => '/sidekiq' to the config/routes.rb file.
For example:
Rails.application.routes.draw do
  resources :records

  mount SupplejackApi::Engine => '/', as: 'supplejack_api'

  mount Sidekiq::Web => '/sidekiq' # Here is where the magic happens
end
Then restart the API Rails server. Navigate to the ‘/sidekiq’ route and you should see the Sidekiq Dashboard.
Sidekiq Dashboard Authentication
If you would like to add an authentication wall to the Sidekiq dashboard, create a sidekiq initializer (config/initializers/sidekiq.rb) if you do not have one already.
Add this block of ruby to the sidekiq initializer
require 'sidekiq'
require 'sidekiq/web'

Sidekiq::Web.use(Rack::Auth::Basic) do |user, password|
  [user, password] == [ <set username here>, <set password here>]
end
Then restart the API Rails server. When you next navigate to the ‘/sidekiq’ route you will be prompted for a username and password.